Deploying An AWS EC2 Instance To Host A Web Page
The goal of this project was to perform some basic Amazon Web Services tasks and deploy an EC2 Virtual Machine that can host a static web page. The process for this involved creating a Virtual Private Cloud, creating a MySQL database instance, and installing Apache web server onto the VM.
Creating My IAM Admin Account
The first thing I did was add MFA via Google Authenticator. Next I followed this guide to create my first IAM admin user and user group. I of course named the user “Administrator” and the user group “Administrators”.
Setting Up Billing Alarms
Next I enabled billing alerts and created a billing alarm via the Cloudwatch console. Interestingly enough, I wasn’t able to view the Total Estimated Charge billing metric until I changed my region from US East Ohio to US East N. Virginia. Apparently this is because billing metric data is stored in the N. Virginia region. I set my alarm to go off if I am billed for more than $3, just to choose an arbitrary number.
Configuring the AWS CLI
I started this by creating an access key for my Administrator user as according to the directions here. Next I downloaded and installed the AWS Command Line Interface, and used the aws configure command to configure a default profile. I was able to view my entered information at C:\Users\USERNAME.aws\
Launching EC2 (Elastic Compute Cloud) Instance
My aim here is to get a static web page up and running. To do this I first had to create a Relational Database Service (RDS). But before doing that, I had to create an Amazon VPC (Virtual Private Cloud) to be used with a database instance.
Creating an Amazon VPC
I followed this tutorial, which has directions to create a VPC with both public and private subnets. The public subnet is for hosting the web server and the private subnet is for hosting the DB instance. The first step to achieve this is to allocate an Elastic IP address to associate with a NAT gateway. The next step in creating the VPC was creating the public and private subnet, as well as creating an additional private subnet. You must have either two private or two public subnets in order to create a DB subnet group. The DB instance needs the DB subnet group to be used in a VPC.
Next I created a VPC security group for the public web server and added an SSH inbound rule, which allows you to access your EC2 instance via Secure Shell. I also created a VPC security group for private access to the DB instance, using the MySQL/Aurora inbound rule.
Finally I created a DB subnet group, which allows you to assign DB instances to a particular VPC. This is done using Amazon’s RDS console rather than the VPC console.
Creating a DB Instance
I used this tutorial to create a DB instance. Via the RDS console, I created a MySQL Database. This was very straightforward.
Creating an EC2 Instance and Installing a Web Server
Following the guide here, I launched an EC2 instance using the Amazon Linux 2 AMI (Amazon Machine Image) and the t2.micro instance type, both of which are conveniently free with AWS free tier. Next I configured the instance and security group, and downloaded an RSA public and private key pair.
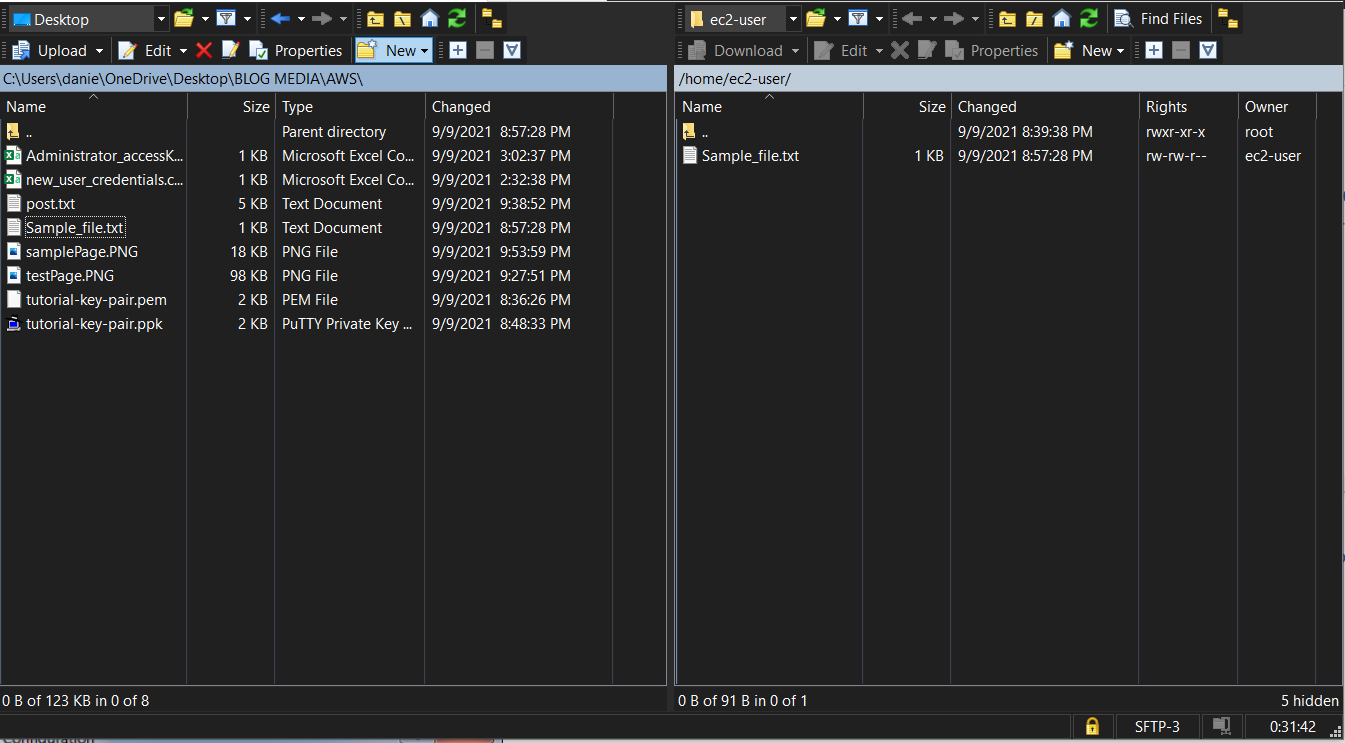
After I got my EC2 instance up and running, I used PuTTY to connect to the instance from my local Windows 10 machine. I started with PuTTYgen to convert my downloaded key pair file from .pem to .ppk (the .pem filetype is not compatible with PuTTY). Once I did that I used the Linux instance username, public DNS name, and successfully-converted private key to connect to my EC2 instance. To transfer files to the instance, I downloaded WinSCP on my local machine, and tested it by transferring a simple .txt file to the instance. Here’s what that looked like:
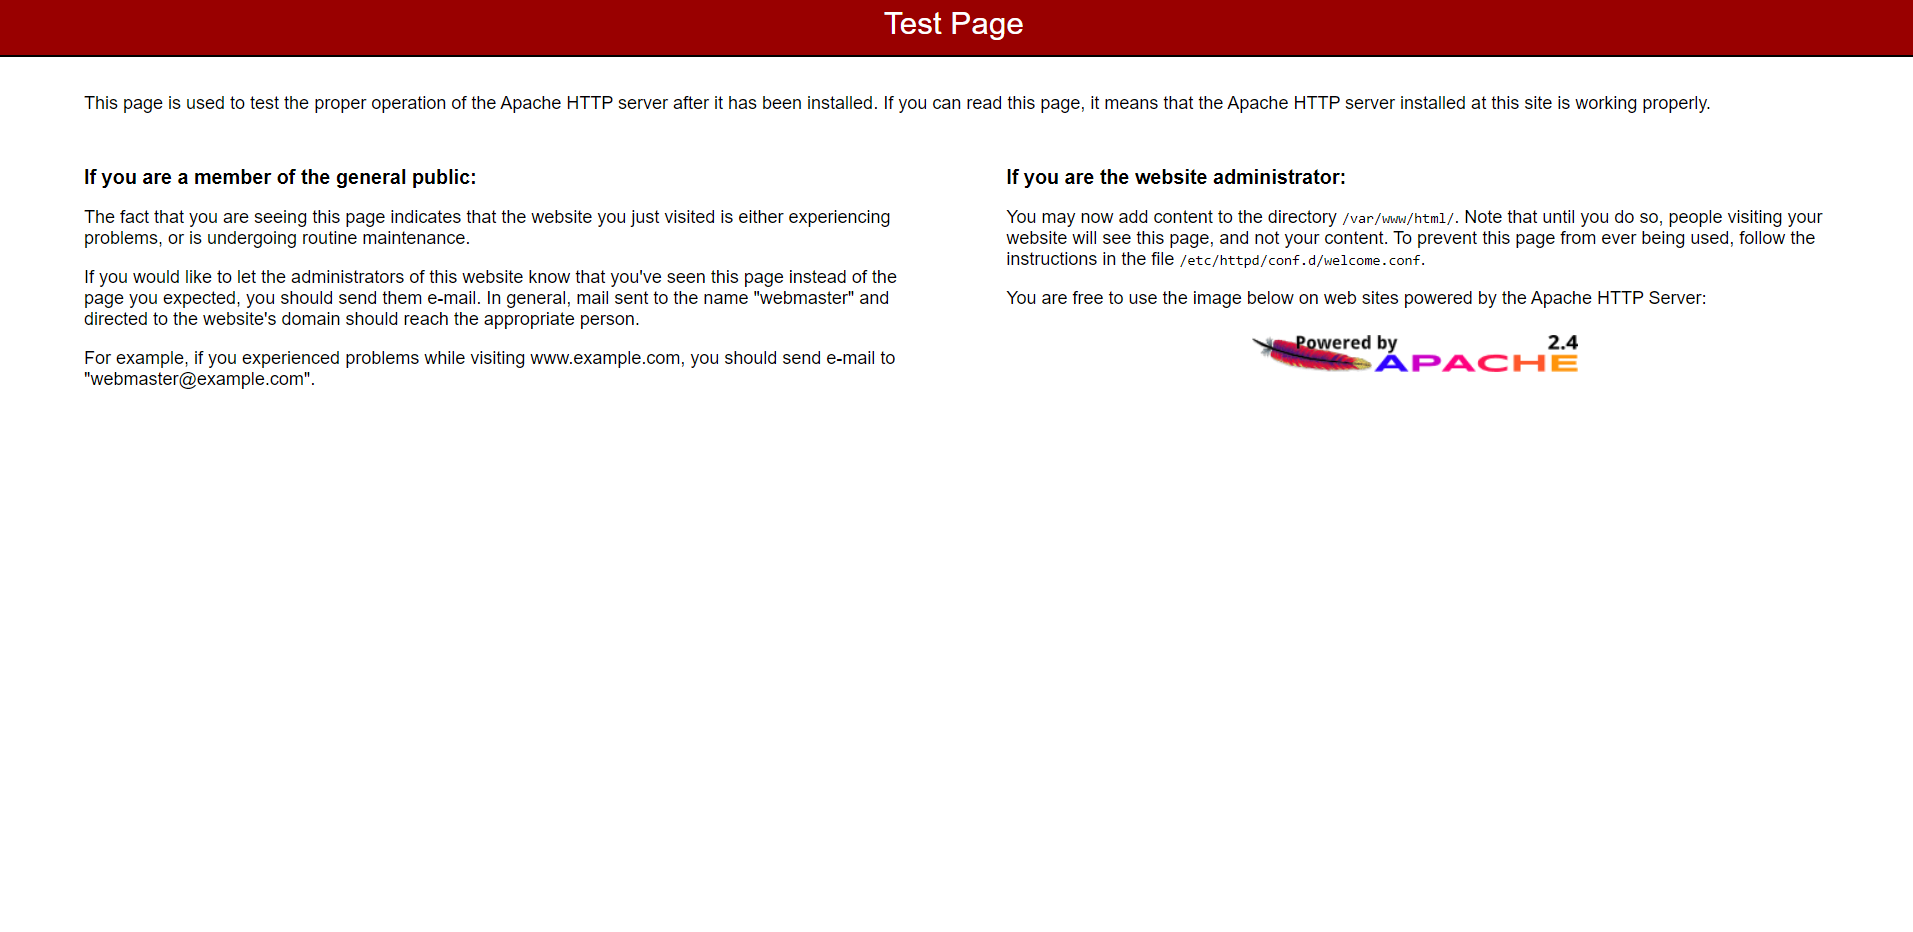
Next I installed an Apache web server with PHP onto the Linux 2 AMI and configured file permissions in order to allow the user of the EC2 machine to add/delete/edit files in the Apache document root. You can see that the EC2 Apache web server is operating in the picture:
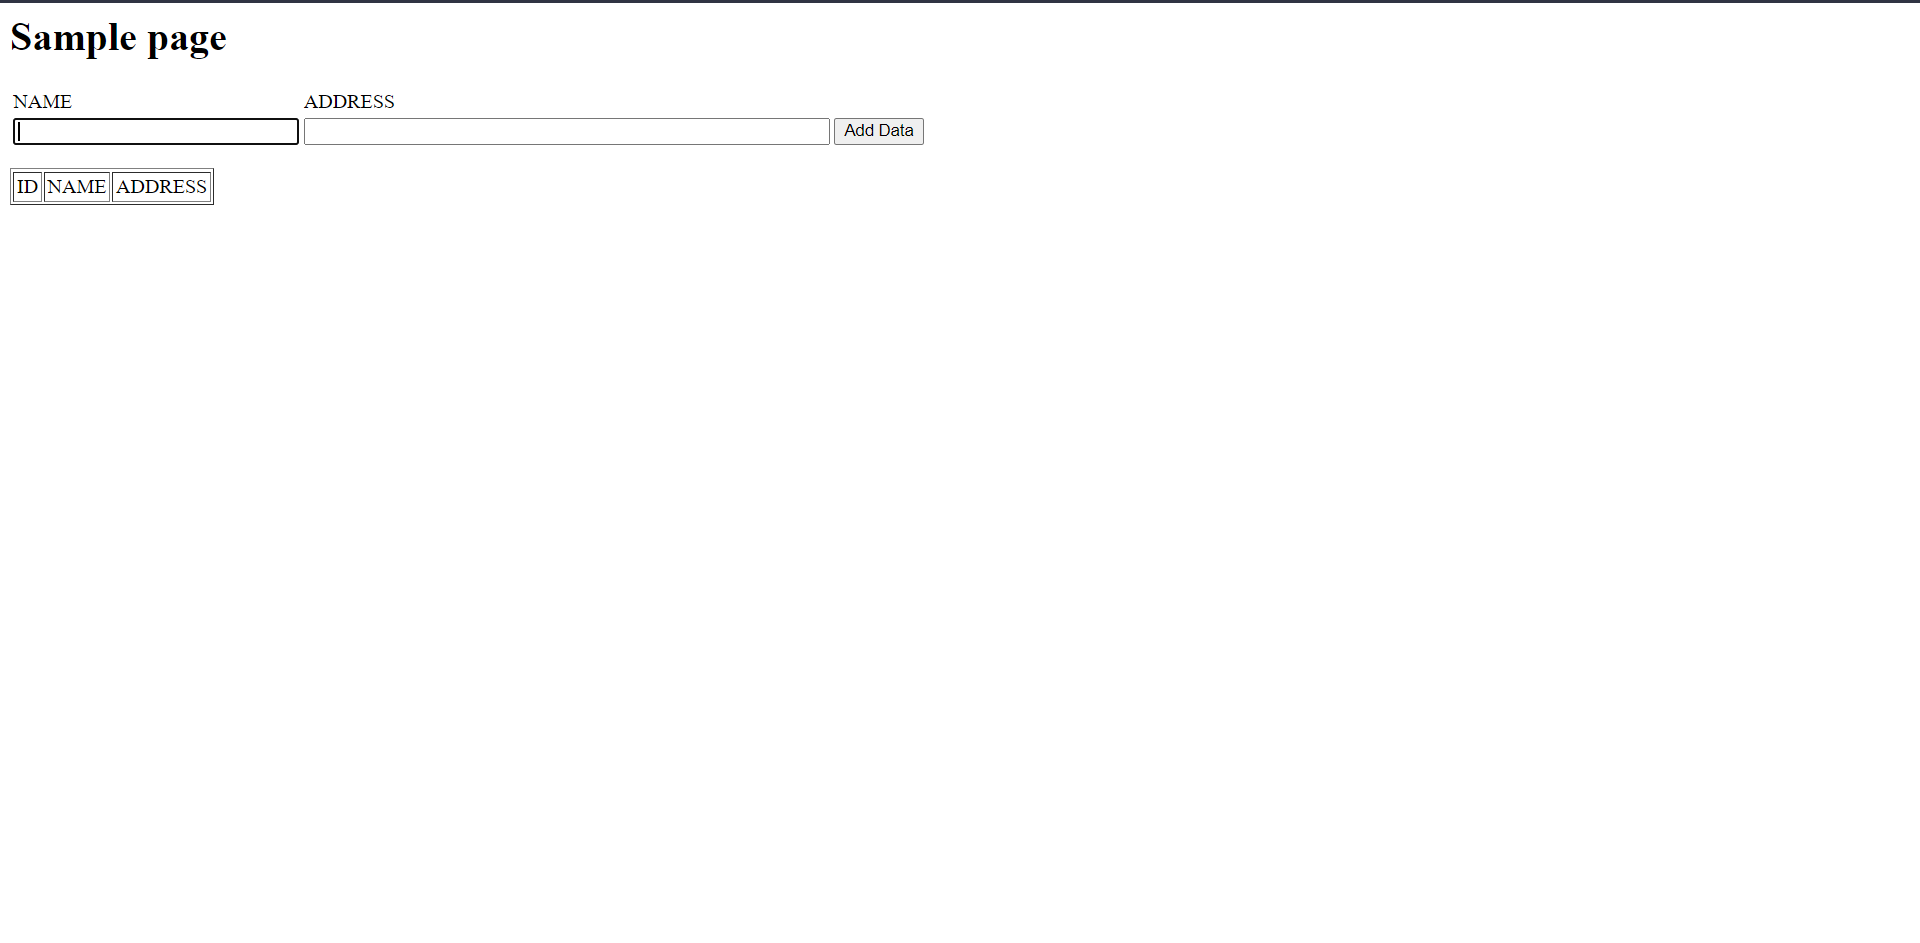
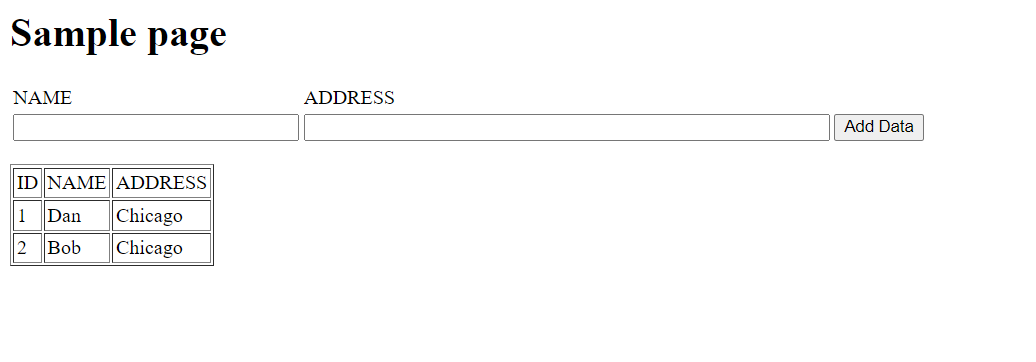
I also set up the sample page provided by AWS. Here’s what that looks like:
Final Thoughts
The Amazon tutorials that I followed for this project were incredibly well-written. I found the directions to be straightforward and I was able to complete the tasks without much hassle at all. The guides don’t just tell you how to do things, but they also tell you why you’re doing them, which is a nice addition that helped me learn without the need for considerable external research.